Benefits of Using Real Wood Veneer for Kitchen Cabinet Refinishing
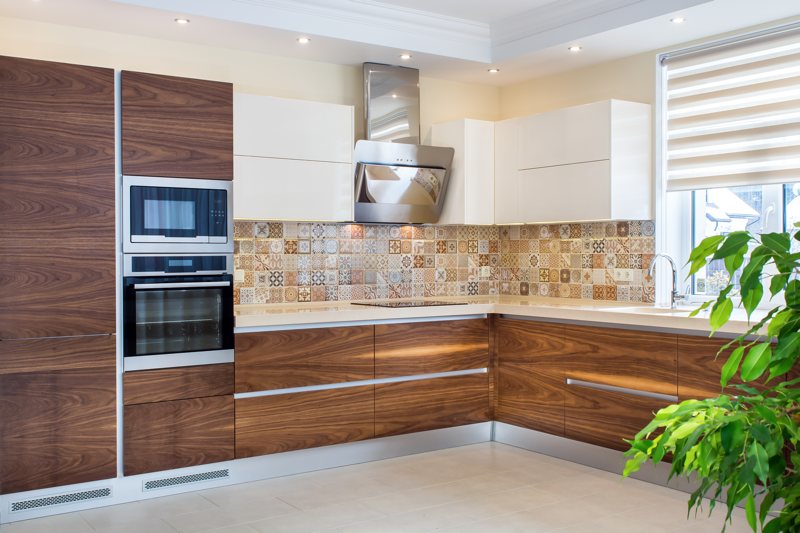
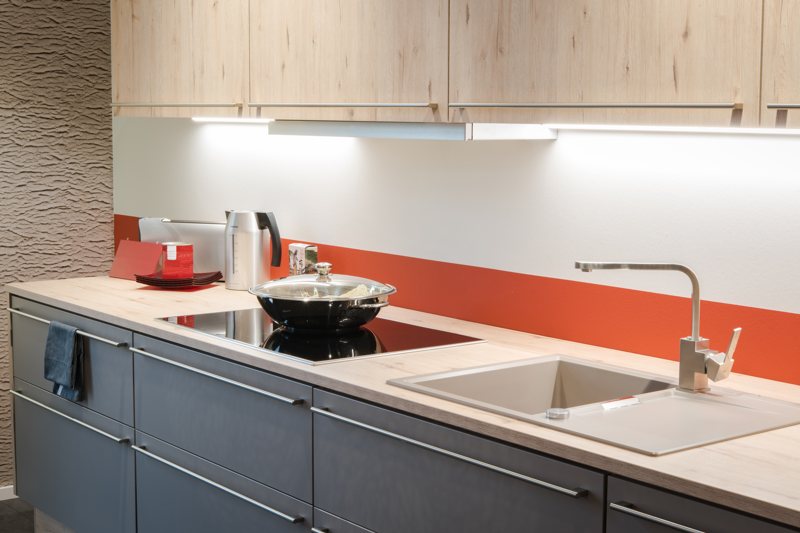
One of the many practical uses for wood veneer is refacing vanity and kitchen cabinets. This is a great alternative to complete cabinet replacement. Refinished existing cabinets with real wood veneer is cheaper than fully replacing cabinets. The process is easy for do it yourselfers and results are just as spectacular as a complete kitchen replacement. Also, refinishing is less disruptive to daily life as your kitchen/bath can be fully functional during this process versus a complete kitchen demolition and replacement. The variety of real wood veneers is endless. The real beauty of wood veneer is in the wide range of colors from light to dark to everything in between. The look of the wood grain, whether flat cut, rift cut, quarter cut, or rustic planked can also influence the overall look and feel of any kitchen or bath. Refinishing kitchen cabinets with wood veneer is perfect for both easy modernization or striking, statement making looks.
How to Refinish Kitchen Cabinets
Cabinet refinishing or refacing can be done by most DIYers with a few simple steps. These steps, when followed, will help anyone achieve professional results. For everything needed in a refacing project, include veneer, edge banding, and tools, check out our Cabinet Refacing Kits.

- Prepare your cabinets. Remove cabinet doors and hinges, saving all hardware if you plan to reuse it. Next, remove trim moldings or baseboard moldings. Remove drawer boxes and set aside for later use. Lightly hand sand all surfaces to be veneered.
- Veneer any exposed end panels. End panels should be done first. Measure the cabinet end for approximate size, cut, and dry fit with protective paper back still on the glue side. Once you are satisfied with the fit, peel protective release paper from back of the veneer and install.
- Veneer inside edges. Using iron on edge banding, begin veneering the inside edges of the cabinet door and drawer openings. In the drawer openings, you can skip doing the top inside edges and only do the bottom and two sides. This is because you will likely never see the inside edge above a drawer unless you are specifically looking for it. Trim excess veneer flush to front edge of the cabinet.
- Veneer rails and stiles. The rails and stiles of a face frame cabinet are the front surfaces of your cabinets, typically 1½” wide with wood grain running vertical and horizontal. You will cut oversized veneer strips to fit these. Apply the stiles (vertical sides) first, leaving the pieces oversized. Apple the rails (horizontal strips) next.
- Trim rails and stiles. Trim flush the excess veneer now overlapping the rails and stiles. Use a sharp utility or razor knife and a straight edge for this step. Start by trimming the stiles first and do the rails second. This is where you have to follow directions a little closer to get great results. See our more detailed instructions for more insight.
- Prepare cabinets for finishing. Our veneer is “shop sanded” but should be hand sanded prior to applying any stain or finish. Hand sanding with 150 grit paper then progressing to 180 grit paper for final sanding is recommended. At this point stains or clear coat finishes can be applied. Always follow manufacturer’s instructions for the specific finishes you are using. We recommend waiting 24 hours after installing veneers before applying any stains or finishes.
Cabinet Refinishing Made Easy
Refinishing kitchen cabinets is something most DIYers can do successfully. Flexible paperbacked veneer can be used with contact cement adhesive, but PSA veneer (peel and stick) is better for saving time and eliminating the mess associated with applying glues. Simple tools are all that’s required for proper veneer application. A good sharp utility knife or disposable razor knife will easily cut through wood veneer. A good straight edge of some sort will help with straighter cuts. When cutting veneer, it is best to cut on the face side and score with a knife 2 or 3 times before cutting through. This will produce the cleanest cut with no wood grain tearout. Also for proper adhesion, use a veneer scraper or soft wood block to smooth and burnish the veneer down. Use plenty of pressure with these tools to ensure a good bond. Edges of freshly cut veneer can be sharp so light sanding on the edges will eliminate the possibility of wood grain to snag on something and cause tearout.
Check Out Our Cabinet Refacing Kits For Everything You Need